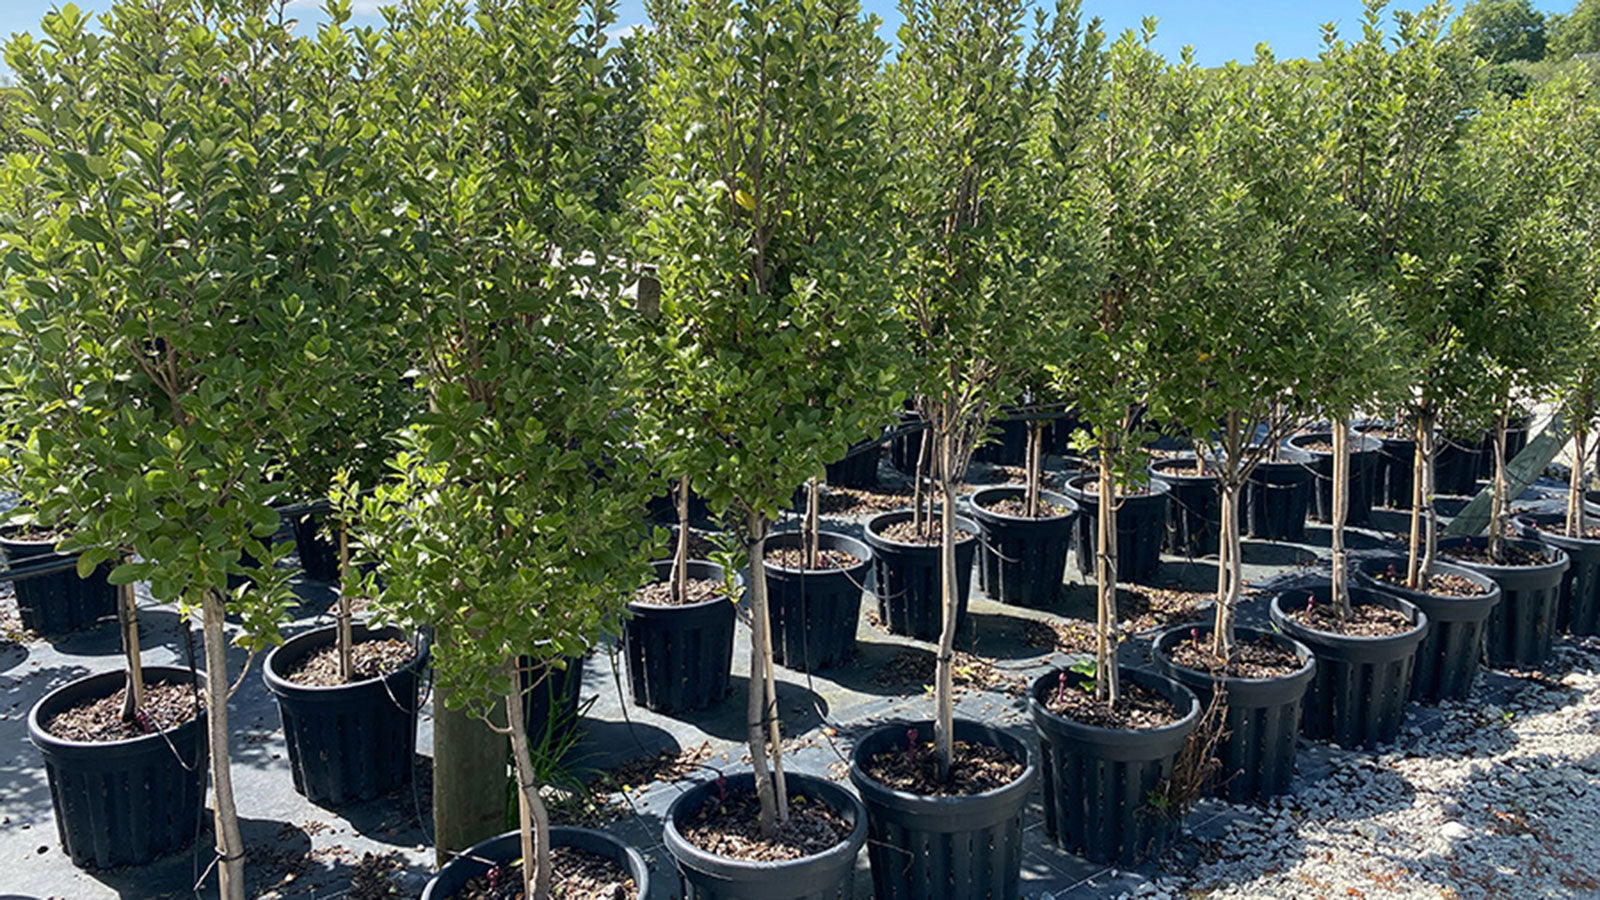
Read our 6 Easy Steps for Planting Plants, Shrubs & Trees in your garden.
-
Time of Year
Trees need water! So, it is best to plant in autumn or spring. If in spring, water through summer. Frosts are avoided by planting after winter/spring frost danger has passed. Avoid very windy or wet days.
-
Ground and hole preparation
Generally, the better the conditions, the happier the tree will be. Soil, shelter, and shade are the key points. Trees need water, BUT, while some like damp conditions all the time, others can’t stand constant dampness. Some tolerate dry spells. You need to have researched the tree tolerance of your wet & dry conditions, as well as its preferences for soil, shelter & shade, before you choose! If the soil is difficult, like poor clay, heavy, or with a hard under-pan, you need to prepare the ground first. Loosen the area in & around the hole to free up the soil, including breaking up the hard pan, so roots can penetrate into the surrounding ground. Add a mulch of planting mix and some nutrient feed into this wider area. Now you’re ready! Prepare a hole only about 10% larger than the size of the bag, so that the rootball can be firm in the hole when released from its bag. Adequate width is more important than depth. Loosen the ground from the bottom & the walls of the hole, so roots can progress outside the hole into the surrounding ground. Remove any weeds. Fertiliser or weed control close to the tree are beneficial, but if adding, avoid direct contact with the roots. A slow-release fertiliser is best for native trees.
-
Removing the plant from its container
It is best to turn the container on its side. Slit the bag around its base, and open the bottom. Lower the bag into place inside the hole. Remove the bag up by letting the tree drop through, and then lift the bag up over the tree, or cut out the sides.
-
Planting
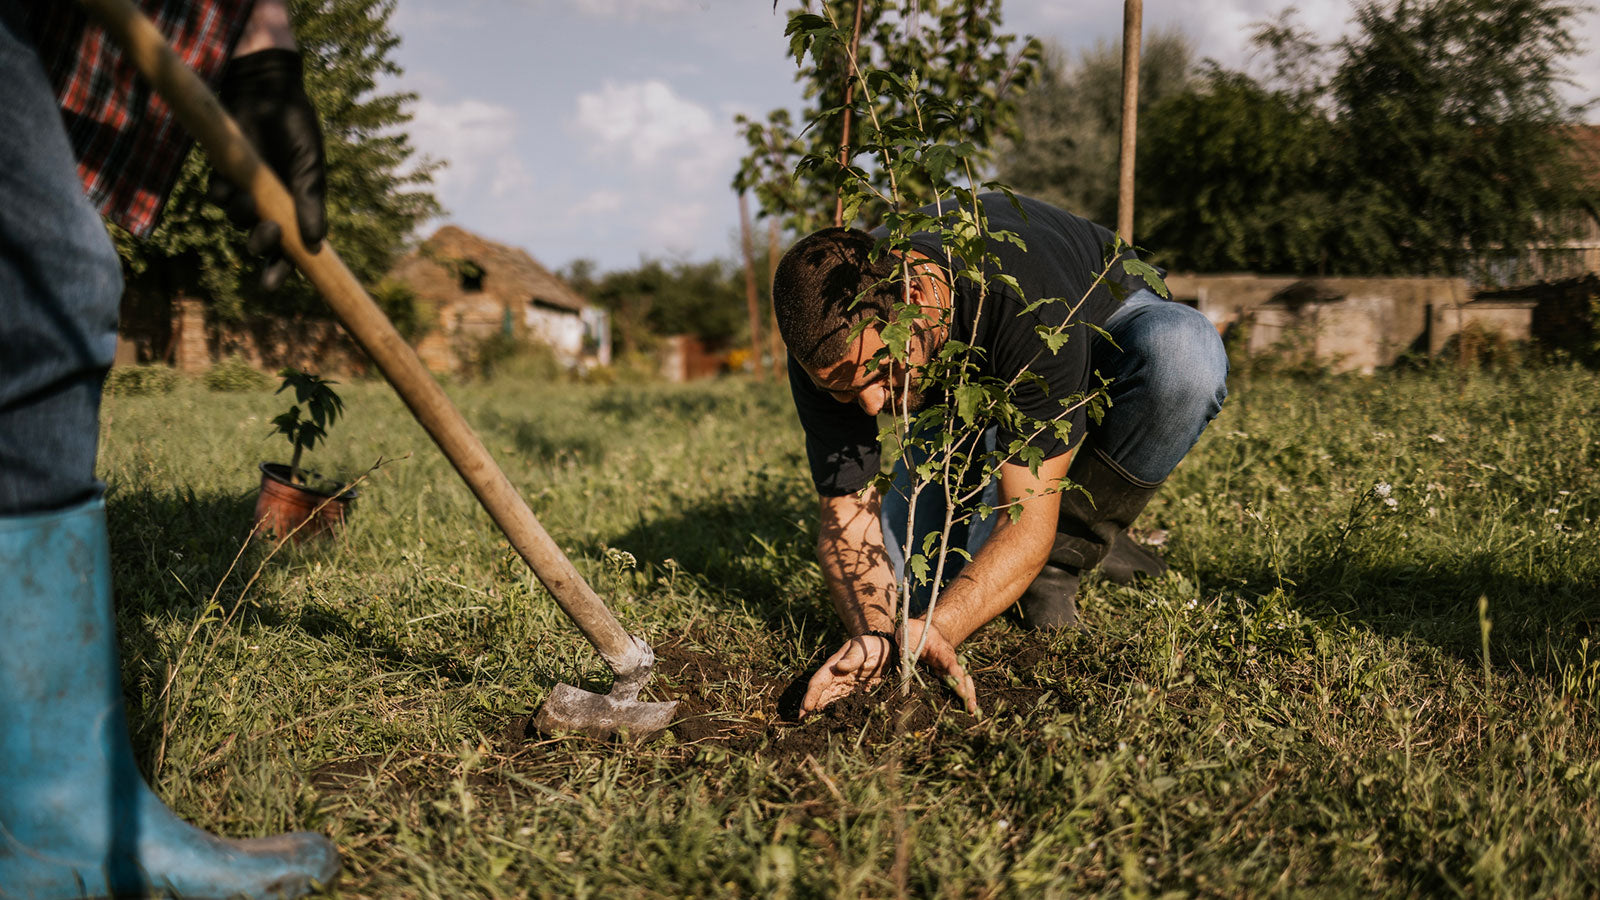
With the tree now in place in the hole, backfill using the tree’s original container mix, together with additional soil and/or planting mix, and then soil dug from the hole. Fill the hole up to the original stem height of the tree in its bag. If the tree is likely to need more moisture, create a slightly lower surface around the tree than the natural ground level. If the tree is likely to need less moisture, raise the level by up to one third of the root bole depth so that there is run off from the tree’s stem to the natural ground level. Firm the soil into the hole so that the tree is steady and secure in the ground, but not so hard that the roots will be damaged or too tightly restricted.
-
Watering
Water the tree after planting! Two bucketsful (20 litres or so) is useful when the soil is dry, but not when the soil condition is already wet.
-
Mulch
Mulching will benefit trees, especially where dry conditions might prevail. Mulch also helps keep soil temperature more constant, and reduces weeds.Keep mulch clear of the stem or roots. Grass clippings should be avoided as mulch. A weedmat piece around the stem is another means of weed control.

